The costume is vital as it will portray who we are meant to be as much as the setting and make-up will.We need to dress like old men so I am planning on wearing ideally:
Brown Cords
Old Dull Shirt
Dated Tie
Smart shoes
Waistcoat/Sleeveless jumper
Lab Coat
Goggles
The costumes will be used as a comical effect as well as creating the setting for the advert.
We needed to look like mad professors working in a laboratory, so in order for our audience to establish the setting in our advert, props were vital. We needed test tubes, Bunsen burners, goggles, clamps etc. to create the ideal mise-en-sen, luckily we didn’t have to spend much money and we were fortunate enough to borrow the props from our schools science department.
We also needed a Hessian sack and for it to appear like it was full of coffee beans, but instead of filling it up, we put a stool in the sack and a tray on top and simply poured coffee beans on the tray. When the tray was completely covered ad the sides of the bag were rolled up, it appeared like the bag was full of coffee beans.
Looking back after the filming tests, we needed to decide which location was best to film in and in the end we felt that the gym at school was the most ideal because of it’s space and of how much natural light it let in.
The only problem was the fact that it was used on a regular basis which meant the only chance we would get to use it would be in the holidays, especially if we needed it all day. But after discussing time and dates with the care taker, coming into school to film in the upcoming Christmas Holidays wasn't a problem and was sorted
Choosing the right soundtrack was important. We needed the rhythm and beat to go along with our shots. We needed the right tempo to excite the audience, but we also needed a very elegant piece of music that would enhance the slow motion shots making them look even better.
The first track that we spotted was Time to Say Goodbye; we used in the green screen and slow motion testing.
We liked the tempo of this track and we thought it would work well with the slow motion shots. We also liked that the track itself also tells a story. Another positive is that this track is renowned so when it’s heard people may pay more attention to the advert because they like the song.
Another track we liked was Chopin Nocturne Op.9 No.2
This track is good because of its nice easy tempo and rhythm all the way through, but does lack a bit of kick to it, as there is going to be a lot of action on the screen so the track can’t be too slow or dull.
In our piece we wanted to get the best shots we could, obviously we didn’t have the equipment most big production companies had, so we had to improvise. One of the shots we wanted to get right was our tracking shots, but the problem was how were we going to get something that would hold the camera on its tri pod and something that would also have wheels so that it could be easily pushed along.
Luckily we were able to use a prop from our schools pantomime, it was a sheet of wood, which had wheels attached to the bottom. There was enough space to put the tri pod on, all we needed to do was tape it down.
The improvisation was a success and we were able to get the shots we wanted in the practice.
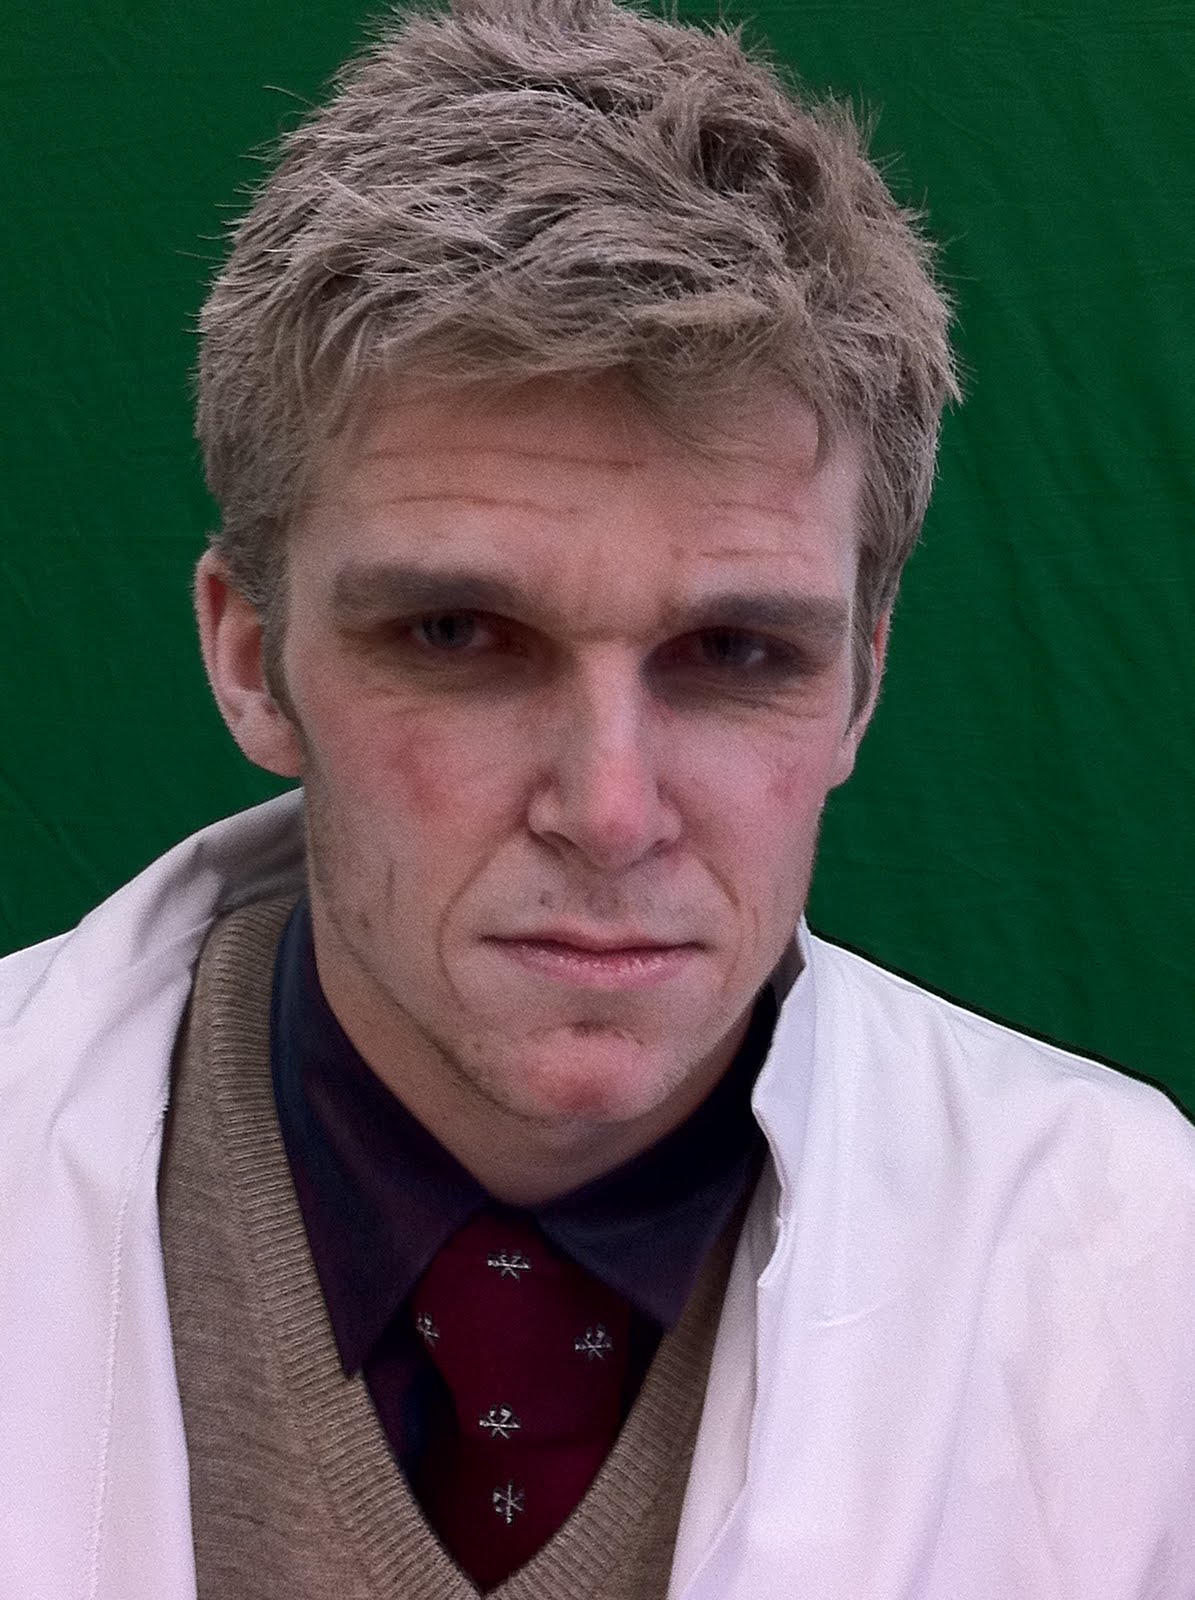
After the initial make-up, we felt that we were ready to try it out on all four of us, we wanted to look like old men so it was important that we emphasized the make-up, so that the cameras could pick it up.
When we first applied the make-up we had a screen test, to see whether our camera could capture all the work that had been done to our face, otherwise it would have been a waste and luckily we found that it didn’t at first, so we went back and had Steph emphasize the make up more.
The second screen test was much more successful, the make-up was showing up and it looked great.
We wanted our make-up to be stereotypical of what old men look like, so the main features that helped us appear older was the darkness around the eyes, the burst blood vessels on the cheeks, the red nose and of course the wrinkles.
In our advert we wanted to look like old men, it was important that we made sure that the make up looked good before we went to film, so getting the make up done was crucial, so that on the day we knew exactly what we wanted to look like and how long it would take to make us look like that so that we weren’t wasting time.
I was very fortunate to have a very talented make up artist as a girlfriend, so the problem of getting somebody ‘good’ to do our make-up wasn’t a problem. A few days before our filming date, I decided to get the make-up done on me, to get an idea of how good it looked and to see how long it took Steph to do it.
We had to look like your stereotypical old man so the key aspects of the make-up were:
Wrinkles
Dark eyes
Burst blood vessels
Bushy eye brows
Flakey skin
The results were brilliant, Steph had done a superb job first time around and now we knew how long it would take to do the make up and how we would look.
Luckily our school decided to invest into a camera that specialised in slow motion shooting. Immediately we wanted to test it out, to see whether it was any good, so we took in down to the gymnasium to test it out.
The results were fantastic, the quality of picture was really good and the slow motion was stunning. We found the clips to look really professional and they didn’t look too far off the slow motion adverts we researched. We were now well on our way to film the real piece now that we had established that filming our slow motion shots was possible. Another positive as well was that we found that using the schools gym was going to be our new filming location as it let in alot more natural light and had alot more room.
This trial’s purpose was the same as the last trials only this trial took place in a different location. The problem before was the lighting in the other room. This room allowed more natural light in and we used industrial lighting also, hoping that this would improve the picture quality of the clips when slowed down.
Another purpose for this day was for us to practice some of the shots/scenes we would use on the day of filming when we would be all dressed up with props etc.
This trial was more successful, the quality of the picture had improved a little and it was helpful practicing some of the scenes. However the slow motion was still not to the standard we wanted it to be at, so we decided that we needed to change the camera we were using, the only problem was finding a better one.
We had done some research on slow motion adverts and we really liked what we saw. In our advert we wanted to have something different, we didn’t want to have a dull and boring ad, where it just states the facts and figures, we wanted to have some action in it. So we decided that we would have slow motion shots of us throwing coffee beans around and shots of us diving to dodge them. The only problem was that in the ads we watched the slow motion equipment they were using was very expensive. The school didn’t have that kind of money to pay for equipment like that, so we had to test what it would look like on a normal camera when we slowed the shots down on a Mac.
This first testing is done in one of the classrooms in school; we wanted to test the green screen as well as the slow motion camera. For this we used a Real Time Footage Camera and simply slowed the clips down on the Mac.
In this clip, we used paper balls to act as the coffee beans for when we filmed for real, to see whether the camera could pick them up when they were flying through the air.
Looking back at the footage we got, we were disappointed, because the slow motion just wasn’t good enough. The quality of picture when the clips were slowed down was really poor and when any sudden movements were made they would look blurry. We weren’t sure whether anything could improve the quality, but we thought that one possibility maybe the lighting, so we made plans to do another testing day.
Lighting is one of the most important aspects when filming, it makes everything look so much more professional and for us it was key because the slow motion camera we were using needed as much light as it could get to have anywhere nearer decent picture quality.
To help us with this problem we used industrial lighting; these big lamps gave out a lot of light and are very useful in brightening up a room or for creating shadows. In our case they did a good job of helping the slow motion camera gain a better picture.
Another important part the lighting played was brightening the green screen making it easier to pick up when editing.
We needed more natural light for the green screen to work and for the slow motion camera to gain a better picture. We decided to do another trial, but in a different room, this room allowed more natural light in, which meant less need for the industrial lighting, but meant we had less space to work in.
We made the decision that this room could be used for all the close up shots as we could only fit the smaller green screen in the room.
At first we didn’t need to worry about the location of filming too much as long as it was a big enough room to fit the two green screens in and had somewhere to suspend them.
Our first location to try them out was at our schools drama studio. What we wanted to gain from this trial was to see, how long it would take us to set up the green screens and all the equipment, also whether the green screens could easily be put up in the room and finally what lighting we would need to make the room bright enough, because it is quite a dark room anyway. All this was necessary, so that on the day of filming we would be organized.
This day was really useful because if we hadn’t of done this trial, on the day of filming we would have had to cancel it. We found a problem with the slow motion camera. There wasn’t enough natural light in the room for the slow motion camera to pick up a good picture. Even when we used industrial lighting, we couldn’t get enough light in the room for the camera to work well, so the drama studio was out of the question now.
After a group discussion about filming locations we came to a decision that we wanted to have a totally white room, with nothing in it, just pure white. But this was going to be hard to come by, as there were no locations that met our needs, so we needed to re-think about how we were going to achieve this plain white roomed setting. We had to think outside the box and we came up with an idea. We thought about using a green screen to give us what we wanted.
We were fortunate enough to get hold of two green screens, one 6m by 2m and the other 2m by 3m. Also one of us already had the green screen software on their computer, so we were able to change the background when we came to edit.